How to Install Case Fans for Maximum Airflow Efficiency
Proper cooling is essential for maintaining optimal performance in a desktop PC, especially for high-performance systems. Installing case fans is one of the most effective ways to enhance airflow and ensure your components stay within safe operating temperatures. This guide will walk you through the process of installing case fans for maximum airflow efficiency. Whether you’re building a new PC or upgrading an existing one, you'll learn how to make your cooling system work at its best, allowing for smoother performance and a longer lifespan for your components.
Understanding Airflow and Its Importance in PC Cooling
1. The Role of Case Fans in Cooling
Case fans play a crucial role in ensuring that the air inside your PC case circulates efficiently. These fans help remove the hot air produced by components like the CPU, GPU, and power supply, while also drawing in cool air from outside the case. Proper airflow is vital for maintaining low temperatures, preventing overheating, and maximising the lifespan and performance of your PC.2. Positive vs. Negative Air Pressure
- Positive Air Pressure: When more intake fans are installed than exhaust fans, the case has positive air pressure. This setup helps prevent dust from entering the case, as the excess air will push outwards, keeping contaminants at bay.
- Negative Air Pressure: When there are more exhaust fans than intake fans, the case has negative air pressure. This can lead to dust accumulation inside the case but might offer slightly better cooling performance by expelling more hot air.
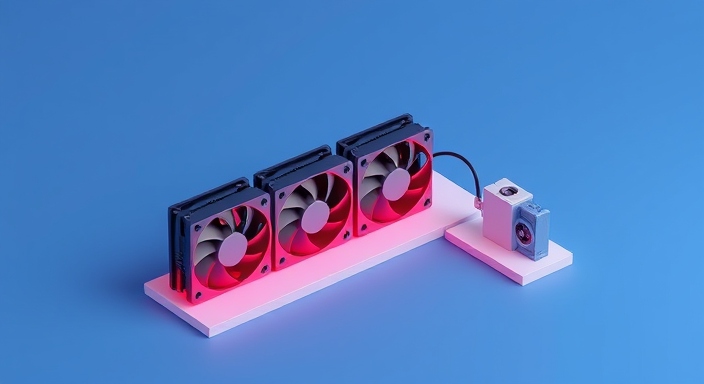
Choosing the Right Case Fans
1. Types of Case Fans
- Static Pressure Fans: Ideal for situations where air needs to be forced through dense areas, such as radiators or filters. These fans provide high-pressure airflow.
- Airflow Fans: These are better suited for cases where air needs to circulate freely. They provide a high volume of airflow but with less pressure.
2. Size and RPM Considerations
- Case fans typically come in sizes of 120mm, 140mm, or 200mm. The size you choose will depend on the space available in your case and your cooling needs.
- RPM (Revolutions Per Minute): The higher the RPM, the more airflow a fan can provide. However, higher RPM fans can also produce more noise. Strike a balance between airflow and noise based on your preference.
3. Noise and Durability
Consider fan noise levels, especially if you’re building a quiet PC. Look for fans with rubberised edges, which help reduce vibration and noise. Durability is also important; fans with ball bearings tend to last longer than sleeve bearing fans.Planning the Case Fan Setup
1. Front-to-Back Airflow
The most common and effective airflow setup is front-to-back. The intake fans are placed at the front of the case, drawing cool air in, while exhaust fans are placed at the rear to expel hot air. This creates a smooth and efficient airflow path, helping maintain a consistent temperature inside the case.2. Top and Bottom Fan Placement
- Top Fans: These fans are typically used for exhaust, as hot air rises naturally. Installing top fans can enhance airflow by helping expel the heat generated by the CPU and GPU.
- Bottom Fans: If your case has a bottom fan mount, this is ideal for additional intake, particularly if your GPU is creating a lot of heat. Bottom fans can help bring in cool air, especially if there’s a positive pressure setup.
3. Optimising Fan Direction
- Intake Fans: The direction of airflow is typically indicated by the arrows on the side of the fan. The fan should face the intake area, drawing air into the case.
- Exhaust Fans: Exhaust fans should be mounted so they push air out of the case, usually at the rear or top of the case.
Step-by-Step Guide to Installing Case Fans
1. Preparation and Tools Needed
Before beginning the installation, gather the following tools:- Screwdriver
- Case fans (with screws included)
- Cable ties for cable management
- Thermal paste (if needed for additional components)
2. Installing Front Fans
- Align the fan with the front fan mount of your case.
- Secure the fan in place using screws.
- Connect the fan’s power cable to the motherboard or fan controller.
3. Installing Top Fans
- Remove the top panel of your case if required.
- Align the fan with the mount and secure it with screws.
- Ensure the airflow direction is set to exhaust.
4. Installing Rear and Bottom Fans
- Install rear fans for exhaust. Position them to push hot air out of the case.
- If installing bottom fans, position them as intake fans to bring cool air into the case.

