Troubleshooting PC Assembly Issues: A Comprehensive Guide for Builders
Building your own custom PC is an exciting project, but even seasoned DIY builders can encounter challenges during assembly. From compatibility issues to troubleshooting a machine that won't power on, these obstacles can be frustrating without the right knowledge. In this guide, we’ll explore common PC assembly issues and provide step-by-step troubleshooting solutions. Whether you’re a first-time builder or an experienced enthusiast, this comprehensive resource will ensure your custom PC project is a success.
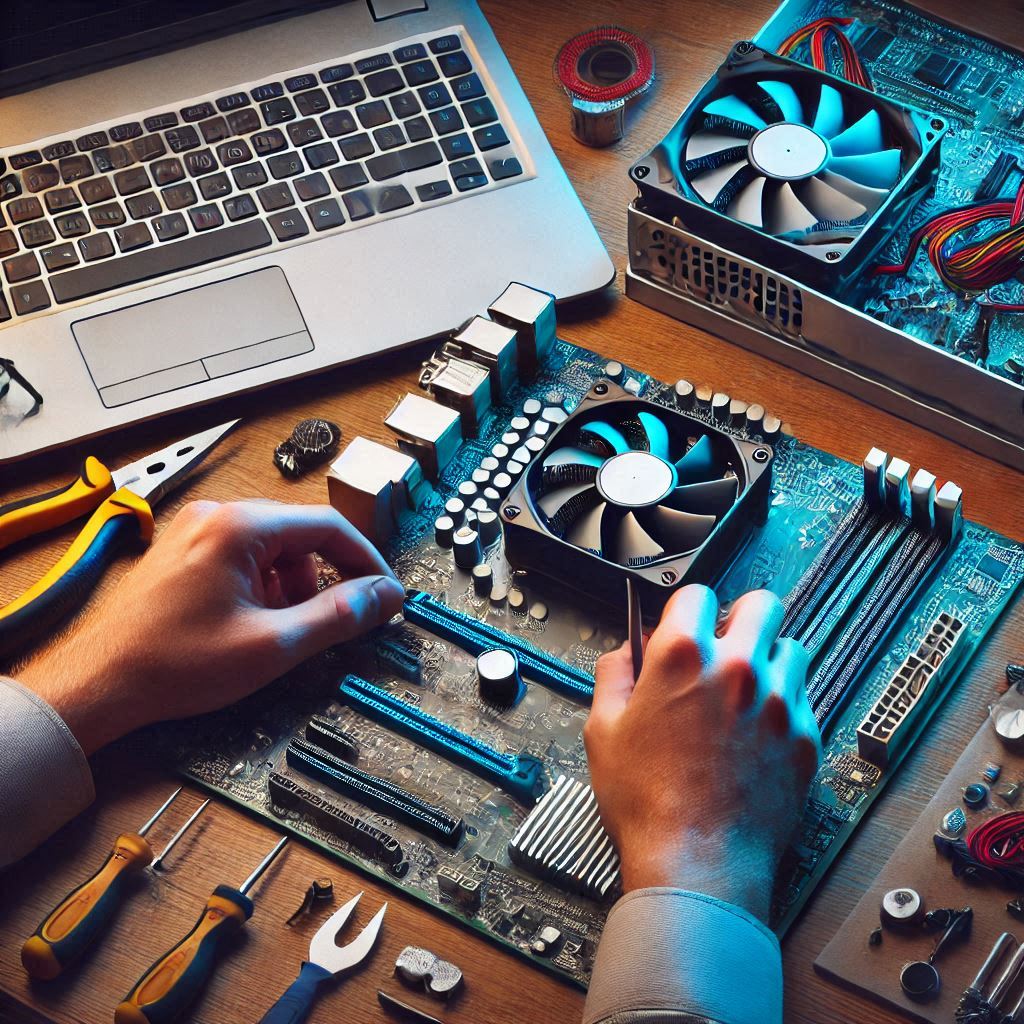
Preparation for a Smooth PC Assembly
1. Tools You’ll Need
- Screwdrivers (preferably magnetic)
- Cable ties or Velcro straps
- Thermal paste (if not pre-applied)
- Anti-static wrist strap
- Flashlight
2. Creating a Static-Free Workspace
Static electricity can damage sensitive components. Set up your workspace on a non-carpeted surface and use an anti-static mat or wrist strap to protect your hardware.Common PC Assembly Issues and How to Troubleshoot Them
1. PC Won’t Power On
Possible Causes
- Loose power cables
- Faulty PSU or motherboard
- Incorrect front panel connections
Troubleshooting Steps
- Check that all power supply cables are securely connected, including the 24-pin and 8-pin connectors.
- Verify the PSU switch is turned on and plugged into a working outlet.
- Consult your motherboard manual to ensure front panel connectors are correctly placed.
- Test the PSU using a paperclip method or replace it with a known working unit.
2. No Display on Monitor
Possible Causes
- Improper GPU installation
- Incorrect monitor input settings
- RAM or CPU issues
Troubleshooting Steps
- Ensure the graphics card is fully seated in the PCIe slot and the power cables are connected.
- Confirm your monitor is set to the correct input source (e.g., HDMI, DisplayPort).
- Reseat your RAM and CPU, checking for any bent pins.
- If using integrated graphics, connect the monitor directly to the motherboard.
3. Overheating or High Temperatures
Possible Causes
- Incorrect cooler installation
- Poor airflow in the case
- Excessive dust buildup
Troubleshooting Steps
- Reapply thermal paste and reseat the CPU cooler, ensuring it’s tightly secured.
- Check that case fans are correctly oriented for optimal airflow.
- Clean dust filters and fans with compressed air.
4. Components Not Fitting Properly
Possible Causes
- Incorrect case size for components
- Improper alignment during installation
Troubleshooting Steps
- Double-check the form factor compatibility of your motherboard and case (e.g., ATX, Micro-ATX).
- Ensure standoffs are correctly installed in the case.
5. Cable Management Challenges
Possible Causes
- Limited case space
- Insufficient cable routing options
Troubleshooting Steps
- Use cable ties to group cables and route them through designated channels in the case.
- Consider upgrading to a modular PSU for easier cable management.

